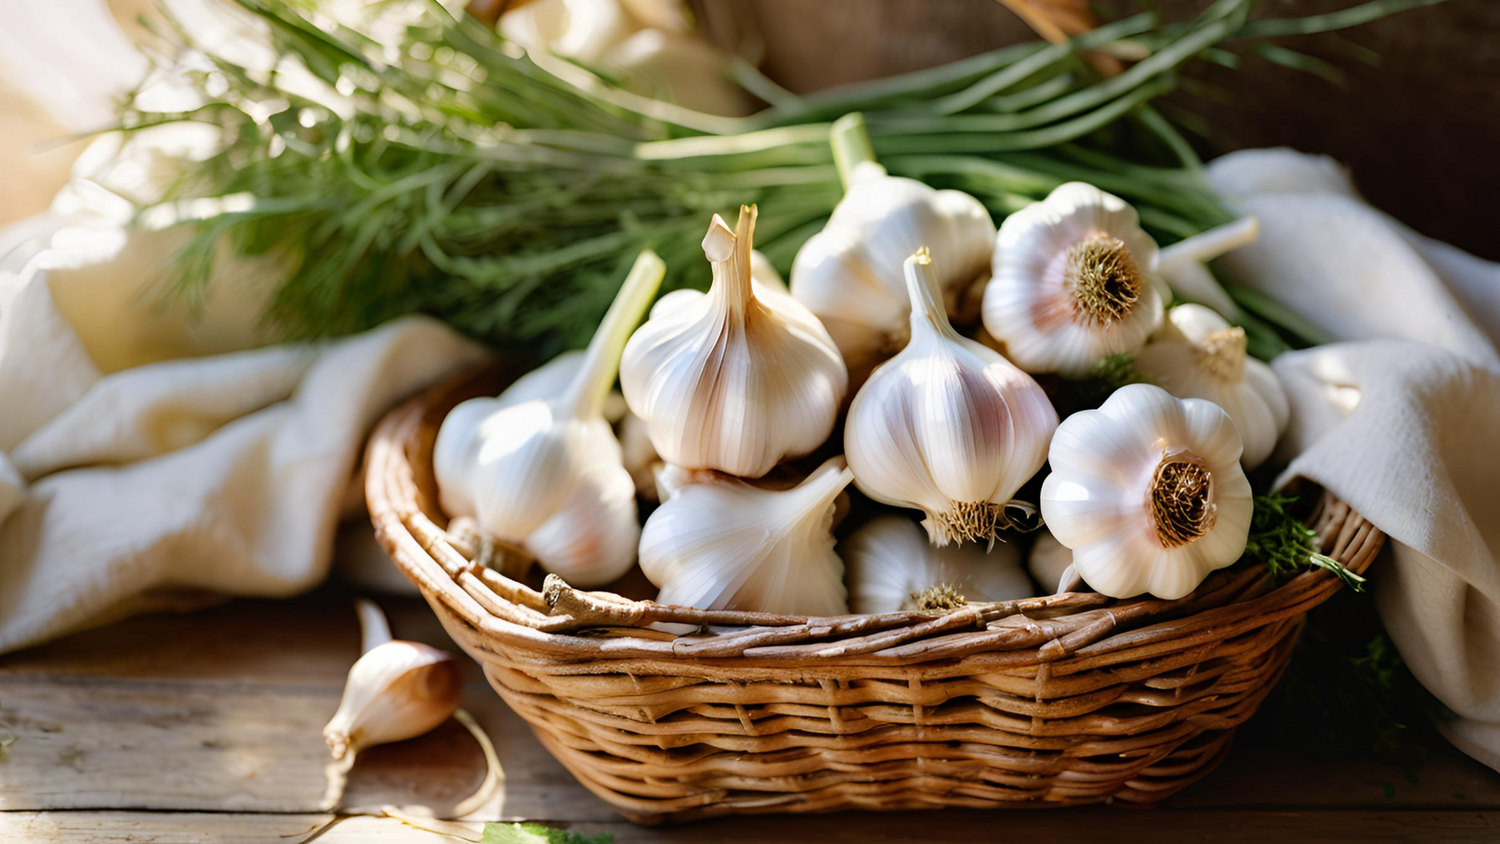
Garlic is a staple in kitchens worldwide, known for its intense flavor that enhances many dishes. This aromatic bulb not only elevates the taste of your cooking but is also revered for its health benefits, including its powerful antioxidant properties and proclaimed ability to ward off vampires, colds, and other disorders. If you're considering planting garlic, the fall season is a golden opportunity to cultivate a batch that will bring a new level of freshness and flavor to your meals. This comprehensive homegrown garlic guide will take you through every step of the process, from the initial planting in the fall to the final harvest, providing you with invaluable garlic gardening tips along the way.
Choosing the Right Garlic Varieties for Your Garden
Before you can even begin to think about planting garlic in the fall, you must choose a suitable variety for your garden. Garlic can be primarily broken down into two categories: hardneck and softneck.
Hardneck garlic varieties are known for their hard central stalk and fewer but larger cloves. They are generally more flavorful and better suited for colder climates, as they are more resistant to extreme cold.
Softneck garlic varieties, on the other hand, feature a soft, pliable stalk suitable for braiding and tend to have a milder flavor. They have more cloves per bulb and are preferred for warmer climates since they're less cold-hardy.
When and How to Plant
In many regions, the prime time for planting garlic is the fall, particularly from late September to November, well before the ground freezes. The cooler temperatures allow the cloves to establish roots without the shoots breaking the surface too early, leading to a more robust yield come summer.

Here’s a step-by-step guide to planting your garlic:
- Choose a sunny spot: Garlic prefers lots of sunlight. The more, the better.
- Prepare the soil: Ensure the soil is well-draining with plenty of organic matter. Till the soil to a depth of at least 12 inches and work in compost or aged manure to provide nutrients.
- Separate the cloves: Break your garlic bulbs into individual cloves, leaving the papery skin intact.
- Plant the cloves: Plant cloves pointy-end-up, about 2 inches deep and 4-6 inches apart.
- Mulch: Lay a protective layer of mulch over your garlic to insulate it over the winter.
Nurture Your Garlic Through the Seasons
After planting your garlic in the fall, your work continues. Garlic requires attention throughout the year until it's ready to harvest.
Over Winter Care
Your newly planted garlic will grow roots and some sprouts before going dormant for the winter. To protect against harsh winter temperatures, insulate your garlic beds with a thick layer of mulch. Straw, leaves, or grass clippings are ideal mulch.
Watering and Fertilizing
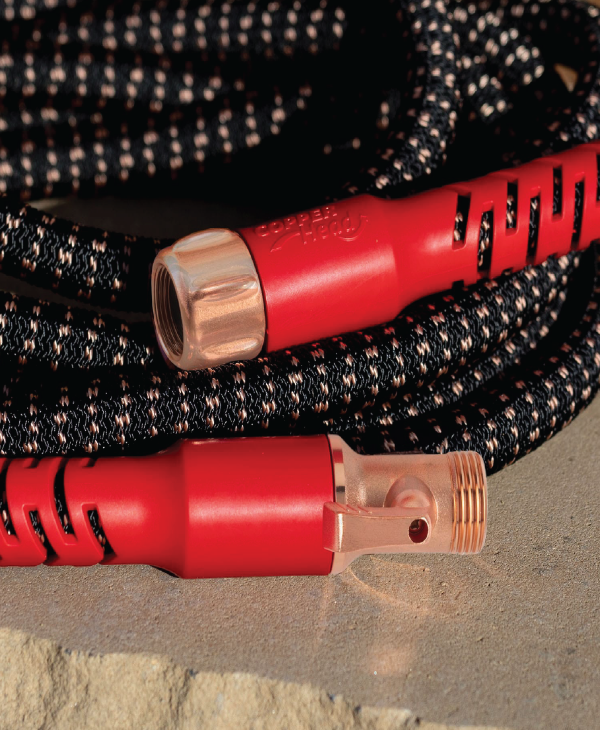
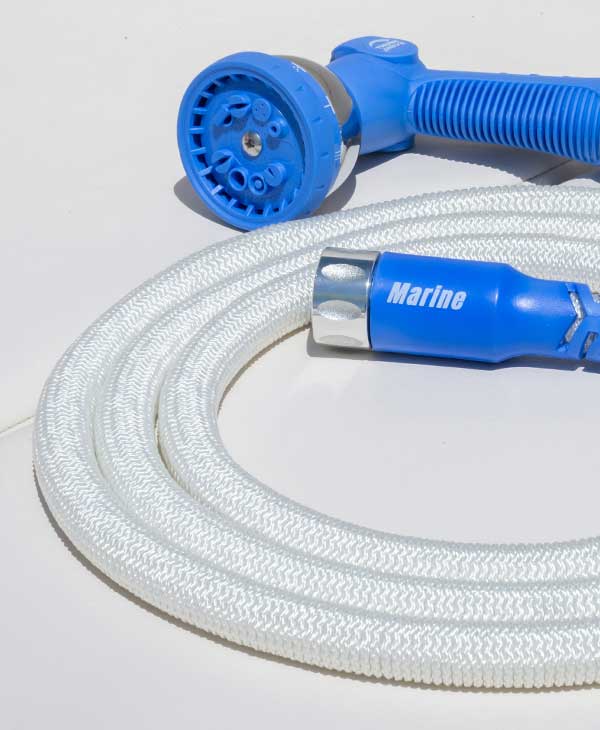
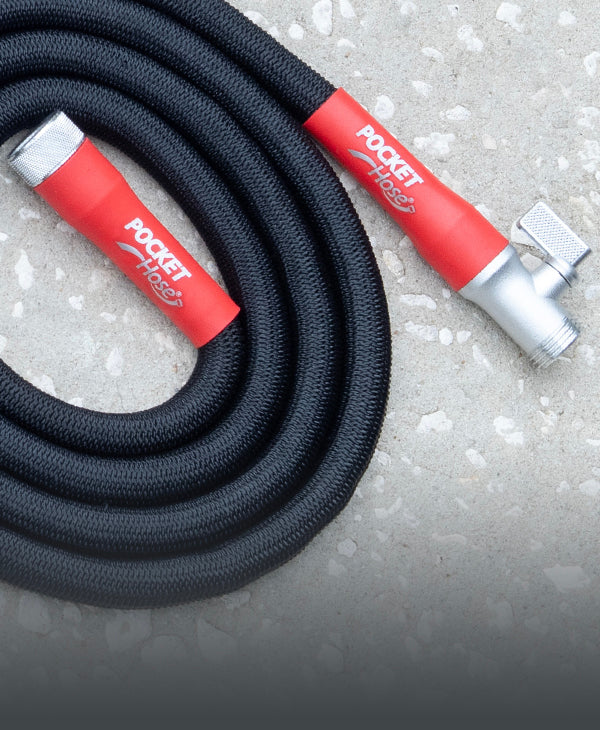
As spring arrives and the weather warms, your garlic will emerge from its winter dormancy. This is when watering becomes particularly important. Garlic needs about an inch of water per week, whether from rainfall or supplemental watering. The right garden tools are crucial during this growth phase. The Pocket Hose Copper Bullet is an excellent choice for your watering needs, combining durability with ease of use. Its lightweight design and non-kink feature mean you can water your garlic garden without hassle, ensuring an even and gentle water distribution.
Fertilize the garlic again in the early spring with a high-nitrogen nutrient mix to promote good growth. Once you see the garlic start to form bulbs later in the spring, ease off on the nitrogen and keep watering steady as needed.
Dealing with Pests and Diseases
Garlic is relatively resistant to pests, but you might still encounter issues with onion maggots or thrips. Look for discolored, distorted, or dying plants, which may signal disease or pests. Implement crop rotation and good sanitation in your garlic beds to prevent issues.
Harvesting your Garlic
Harvest time typically arrives mid-summer, but the exact timing can differ. Here are a few signs that your garlic is ready for harvest:
- The lower leaves will start to brown.
- The flower stalks (if present) will begin to soften.
- The cloves will fill the skins and can be felt when you squeeze the bulb.
Use a spade or fork to lift the garlic, keeping it intact gently. Shake off any soil, being careful not to bruise the bulbs.
Curing and Storing Garlic
Curing is a critical step after harvesting. For a few weeks, place the garlic in a well-ventilated area away from direct sunlight. This allows the skin to harden, which is essential for long-term storage. Once cured, trim the roots, and if you have grown soft neck varieties, consider braiding them for storage.
Store garlic in a cool, dry place with plenty of air circulation. Properly cured garlic can last for many months, providing homegrown deliciousness well into the new year.
Garlic Gardening Tips to Remember
- Climate suitability: Choose a garlic variety that suits your climate for the best results.
- Soil preparation: Invest time in preparing your soil—this can significantly improve the quality of your harvest.
- Regular care: Keep on top of weeding, watering, and fertilizing to encourage robust garlic growth.
- Mind the space: Give each garlic clove enough space to develop, preventing competition for nutrients.
- Timing: Plant and harvest at the right time for your area to maximize yield.
- Proper tools: To simplify garden maintenance, use the right tools, such as the Pocket Hose Copper Bullet, for watering needs.
Growing your garlic is a rewarding endeavor. Planting garlic in fall sets the stage for a delightful harvest of flavor-packed bulbs you'll enjoy in your cooking. With these garlic gardening tips and your commitment to nurturing crops, you'll become a garlic-growing specialist quickly. So roll up your sleeves, get your cloves in the ground, and prepare for a bountiful harvest of homegrown garlic next summer.


Leave a comment
This site is protected by hCaptcha and the hCaptcha Privacy Policy and Terms of Service apply.