Gardening can be extremely rewarding — the fresh air, the connection to the earth, and the joy of watching something grow because of your effort and care. One of the key aspects of maintaining a healthy garden is regular watering. While many gardeners enjoy the time spent hand-watering plants, busy schedules and lifestyle demands can make it difficult to maintain a consistent watering schedule, which is crucial for plant health. Enter the dynamic duo of garden maintenance: the garden hose and the water timer. Together, they can automate your watering schedule, ensuring your greenery stays lush with minimal hands-on effort.
The Importance of Consistent Watering
All plants require water for photosynthesis, which creates food for themselves and releases oxygen into the air. The amount of water and the frequency of watering will depend on several factors, including the type of plant, the climate, the weather, and the time of year. However, inconsistent watering can lead to many issues, from dried-out or waterlogged soil to stressed plants susceptible to diseases and pests.
Choosing the Right Garden Hose
When you think of garden essentials, a hose might not always be at the top of the list, but selecting the right one can significantly impact the health of your garden and the convenience of watering it.
Material and Durability
Garden hoses come in various materials, each with its benefits and drawbacks. Here are the common types:
- Vinyl Hoses: These are lightweight and generally less expensive, but they're also less durable and more prone to kinking and cracking. They're a good choice for light-duty watering tasks.
- Rubber Hoses: Heavier and more expensive, rubber hoses are durable and can withstand rough handling and weather conditions. They're an excellent choice for those who need a sturdy hose for frequent or heavy-duty use.
- Composite Hoses: Often a blend of vinyl and rubber, these offer a balance of weight, durability, and cost. They may also include a layer of mesh reinforcement to prevent kinking and wear.
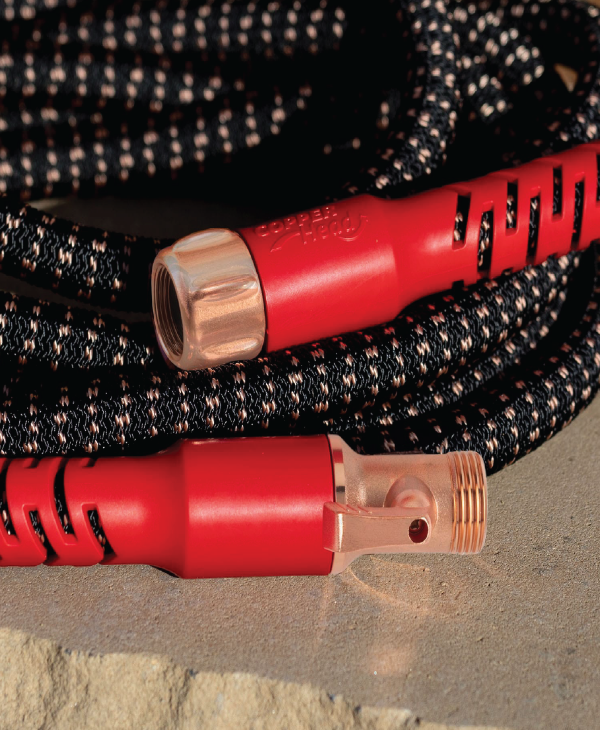
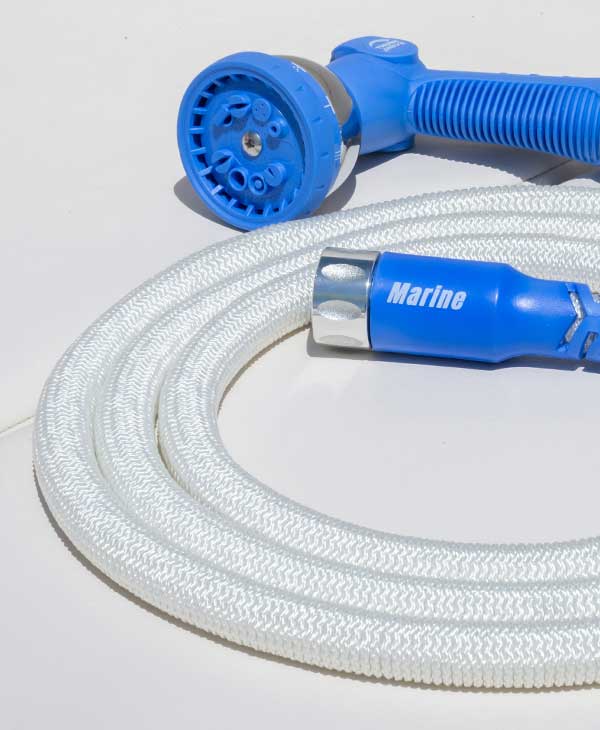
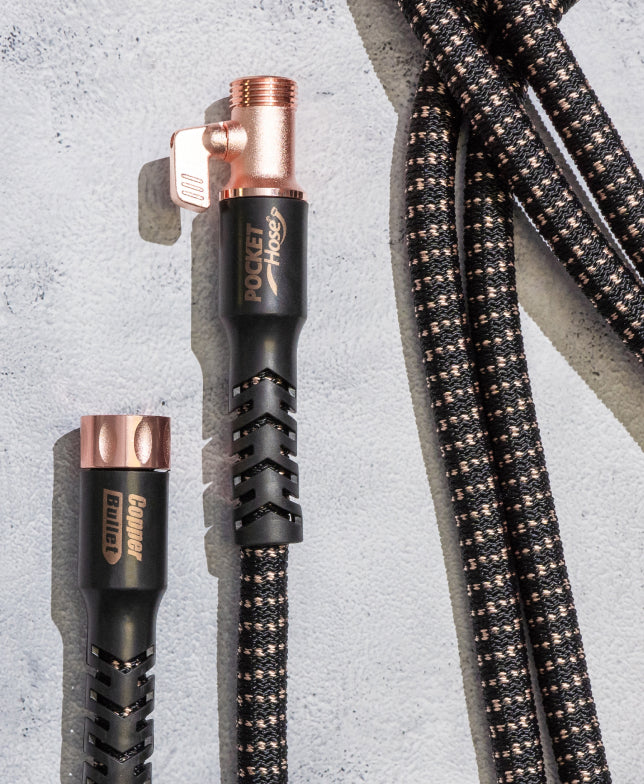
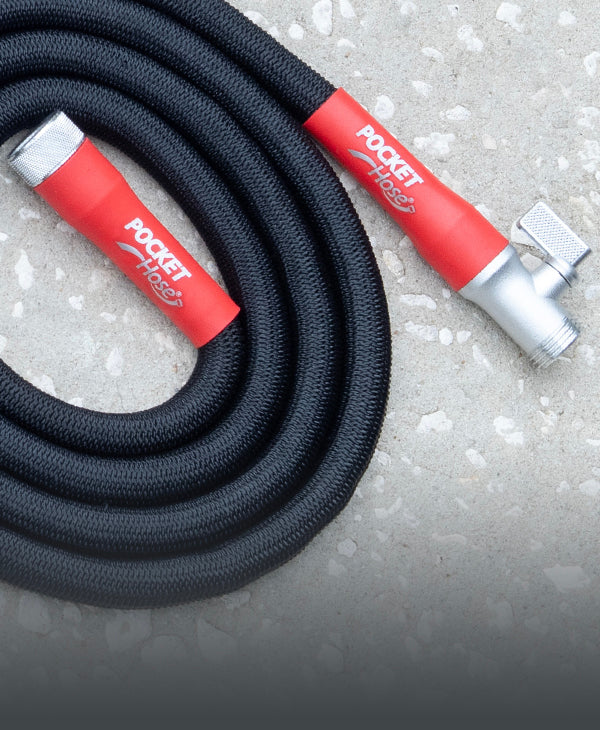
- Expandable Hoses: A relatively new addition to the garden hose market, expandable hoses are made from lightweight materials that allow the hose to expand up to three times its length when filled with water and contract back to its original size when emptied. These hoses are incredibly flexible, easy to handle, and store very compactly. They're constructed with a latex core and a durable, usually polyester, fabric outer layer. However, they might not be as durable as traditional rubber hoses and may be more susceptible to punctures or damage from sharp objects and high pressure. Despite this, their convenience makes them a popular choice for those with limited storage space and for gardeners who prefer a lightweight option for easy maneuvering around the garden.
When considering the durability of your hose, consider the climate and terrain where you live, as well as how often you'll be using it. If you expect rough use or extreme temperatures, you might invest in a heavier hose. In contrast, an expandable hose might be the perfect solution for a smaller space and gentle gardening.
Length and Thickness
The length of your garden hose should be based on the size of your garden. It's better to have a hose slightly longer than you think you might need rather than one that doesn't reach the farthest corner of your garden. Hoses typically range from 25 feet to 100 feet.
Thickness, often marked by 'ply,' can range from one to six, with a higher number indicating a thicker hose. A thicker hose is generally more durable and resistant to kinks and punctures.
Nozzles and Attachments
A good hose should have a sturdy and comfortable nozzle with various settings for different watering needs. Having options, from a fine mist for delicate plants to a steady stream for cleaning tools, is valuable. Quick-connectors can make it easy to swap out nozzle attachments or connect your hose to a water timer or other irrigation systems.
Advantages of Water Timers
Water timers are the key to automating your garden's watering schedule. They can be as simple or as sophisticated as your needs require.
Basic Timers
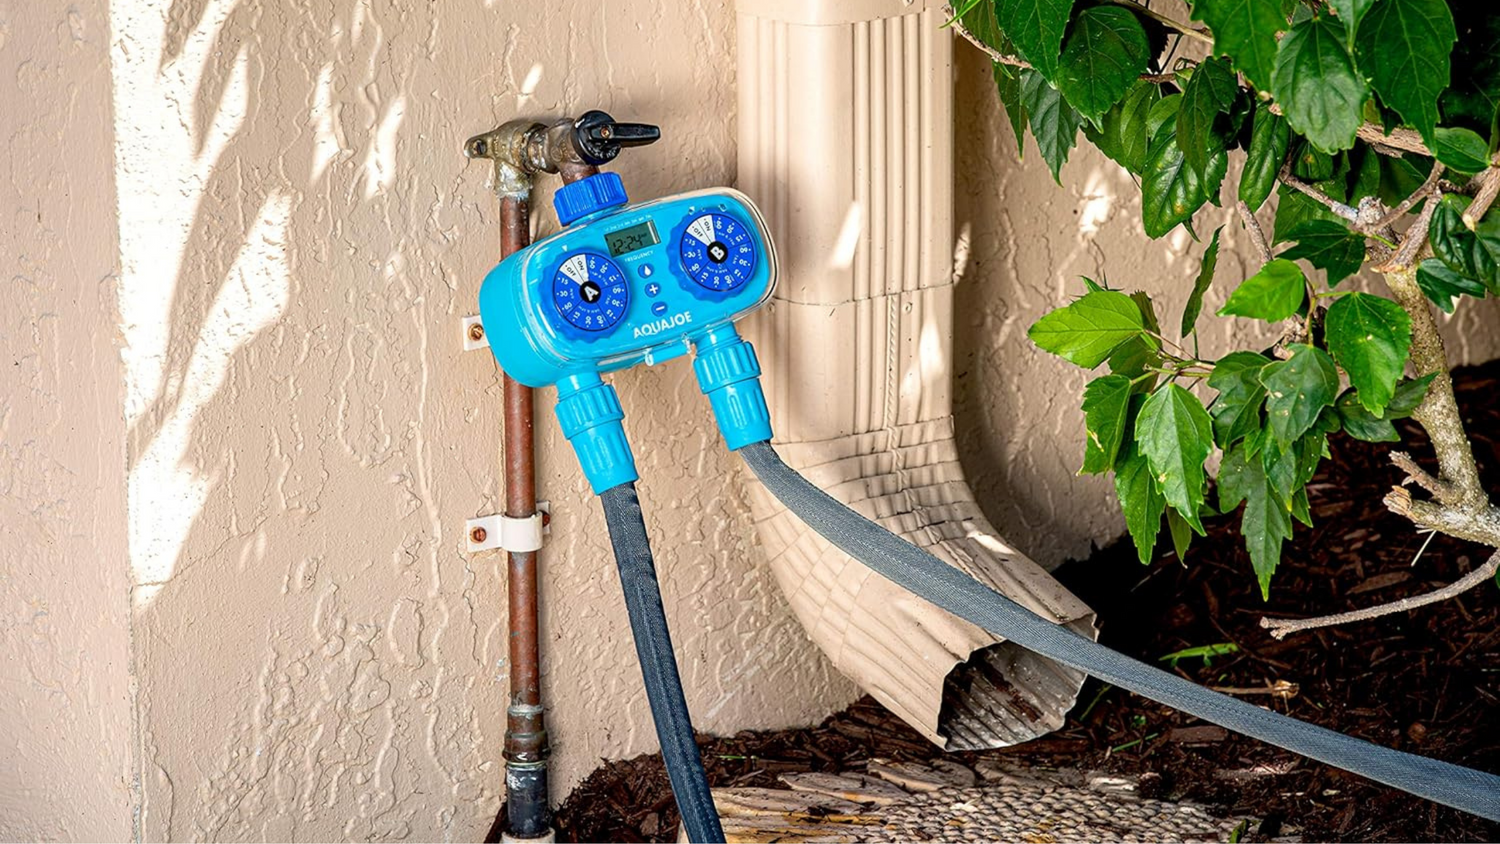
The most basic timers start and stop the water flow at scheduled times. These are typically mechanical devices that attach between the spigot and your hose. You set a dial to the desired watering duration, and the timer does the rest. This timer type is perfect for a gardener who wants a simple, set-and-forget solution.
Digital Timers
More advanced timers are digital and can offer a range of programmable features. You can set different watering schedules for different days of the week, customize the length of watering sessions, and even delay watering based on recent rainfall, which can be essential for water conservation and preventing overwatering.
Smart Timers
The newest generation of water timers can connect to your home Wi-Fi network, allowing you to control them from your smartphone or computer. These smart timers can adjust the watering schedule based on weather forecasts or work with other smart gardening devices. Some might even have soil sensors to measure moisture levels and only water when needed.
Setting Up Your Watering System
Setting up your automated watering system is relatively straightforward once you have your garden hose and water timer.
Step-by-Step Installation
- Attach the Timer: Attach your water timer to your outdoor water faucet or spigot. Make sure the connection is tight to prevent leaks.
- Connect the Hose: Attach your garden hose to it after the timer is secure. Again, ensure a snug fit.
- Add Nozzles or Irrigation System: If you use a nozzle or an irrigation system like a soaker hose or drip system, connect that to the other end of your garden hose.
- Program the Timer: For basic timers, set the duration dial to the desired watering length. For digital or smart timers, follow the manufacturer's instructions to program your watering schedule.
- Test the System: Once everything is connected, run a test to ensure water reaches all parts of your garden and the timer is functioning as expected.
- Adjust as Needed: Monitor your garden for a few days to ensure everything is being watered to your liking. If necessary, adjust the timer or reposition hoses and emitters.
Maintenance and Troubleshooting
The best-laid plans can hit snags. Hoses can develop leaks, timers can malfunction, and batteries (in battery-operated timers) can run out.
Regular Checks
Regularly check your garden hoses and water timer to catch issues early. Look for signs of wear on the hose, ensure the timer's battery level is sufficient, and check the programmed watering schedule periodically to ensure it aligns with seasonal weather patterns and plant needs.
Troubleshooting Common Issues
If you notice a problem with your watering system, address it quickly to prevent damage to your garden. For leaks in the hose, use a hose repair kit or replace the hose if necessary. If the water timer isn't functioning correctly, consult the manufacturer's troubleshooting guide, which can often resolve common issues like incorrect programming or connectivity problems.
Final Thoughts
Automating your garden watering schedule is convenient but can also save water and contribute to a healthier garden. By selecting the right garden hose and pairing it with an appropriate water timer, you can ensure that your plants receive the right amount of water at the right time with minimal effort.
Whether your garden is a small patch of green or a large, sprawling space, a hose and timer combination will meet your needs. With a bit of setup and occasional maintenance, you can enjoy the fruits of your labor - quite literally - with a lush, flourishing garden that practically tends for itself. Happy gardening!
Leave a comment
This site is protected by hCaptcha and the hCaptcha Privacy Policy and Terms of Service apply.